Last week I wrote about switching to Windows from Mac for good, and a number of people wrote in to me from one of two buckets:
- Why don’t you just code on Linux?
- How can you code in a nice way on Windows?
As a result, I thought I’d share the setup I’ve made for my modern front-end development workflow on Windows, along with the quirks and benefits of coding on a platform like Windows 10. If you're interested in what hardware is worth using, I recommend the Surface Book 2 but have an ongoing series of laptop reviews here.
The only reason coding directly in Windows is suddenly so feasible is thanks to Microsoft’s work on the Windows Linux Subsystem, which gives you a fully-fledged Ubuntu install right at the command line — and it works surprisingly well.
Here's why the Windows Linux Subsystem is so good: it's the best of both worlds. I can use Visual Studio Code, on Windows, with a task runner like Webpack running under Ubuntu, monitoring for changes on the same filesystem. No awkward file mounts or VM synchronization; this is real Linux.
A simple example of how good this is: if you install Sublime Text 3 in Windows, it'll be accessible in your bash terminal if it's in your path. Just like a Mac or Linux box, I can type subl . in a folder, and it'll open. I can fire it up in Windows Explorer, too, because the file systems are shared.
I could code on Linux, and certainly the Ubuntu desktop has come a long way from the old days, but dual-booting to Linux seems annoying to me, and I don’t want to have to configure two operating systems.
If I can use the Windows desktop, play games, do day-to-day work and code in one place, I sure as hell want to… and Windows 10 is actually pretty damn nice, especially on great hardware.
Getting started
First up, make sure you have Windows 10 Creator’s Update installed — it takes a few minutes to enroll in the Insider Program, which lets you get free preview versions of Windows. The update should be generally available soon, but for now it’s better than the base release of Windows 10, and notably improves High-DPI displays for those using 4K monitors.
The update adds a lot of major improvements to Bash on Windows, most notably support for iNotify which allows file system watchers to work natively — an important requirement for me.
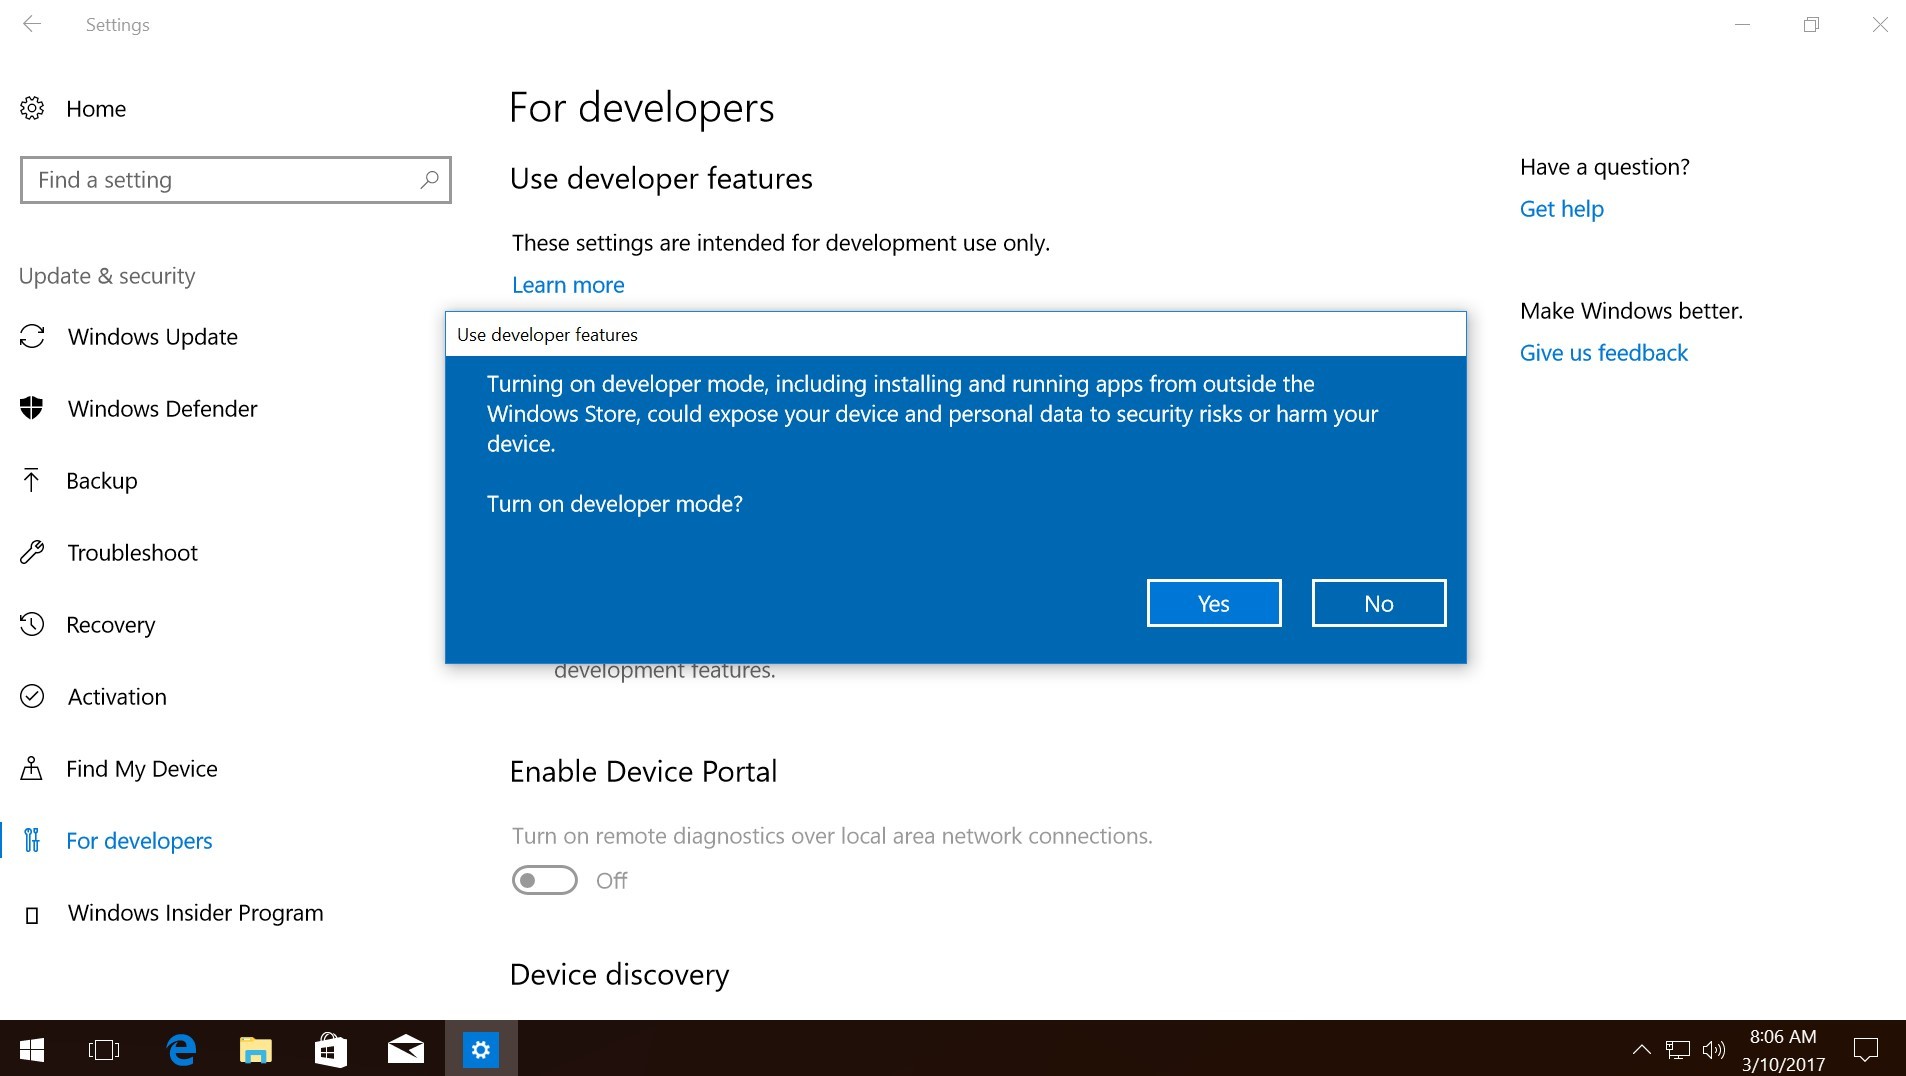
Once you’re all set up, the first thing you want to do is enable Windows Developer mode. Head to the Settings app, then “Update & Security” and click “For developers” in the bar on the left. On this screen, choose “Developer Mode” then accept the warning that pops up.
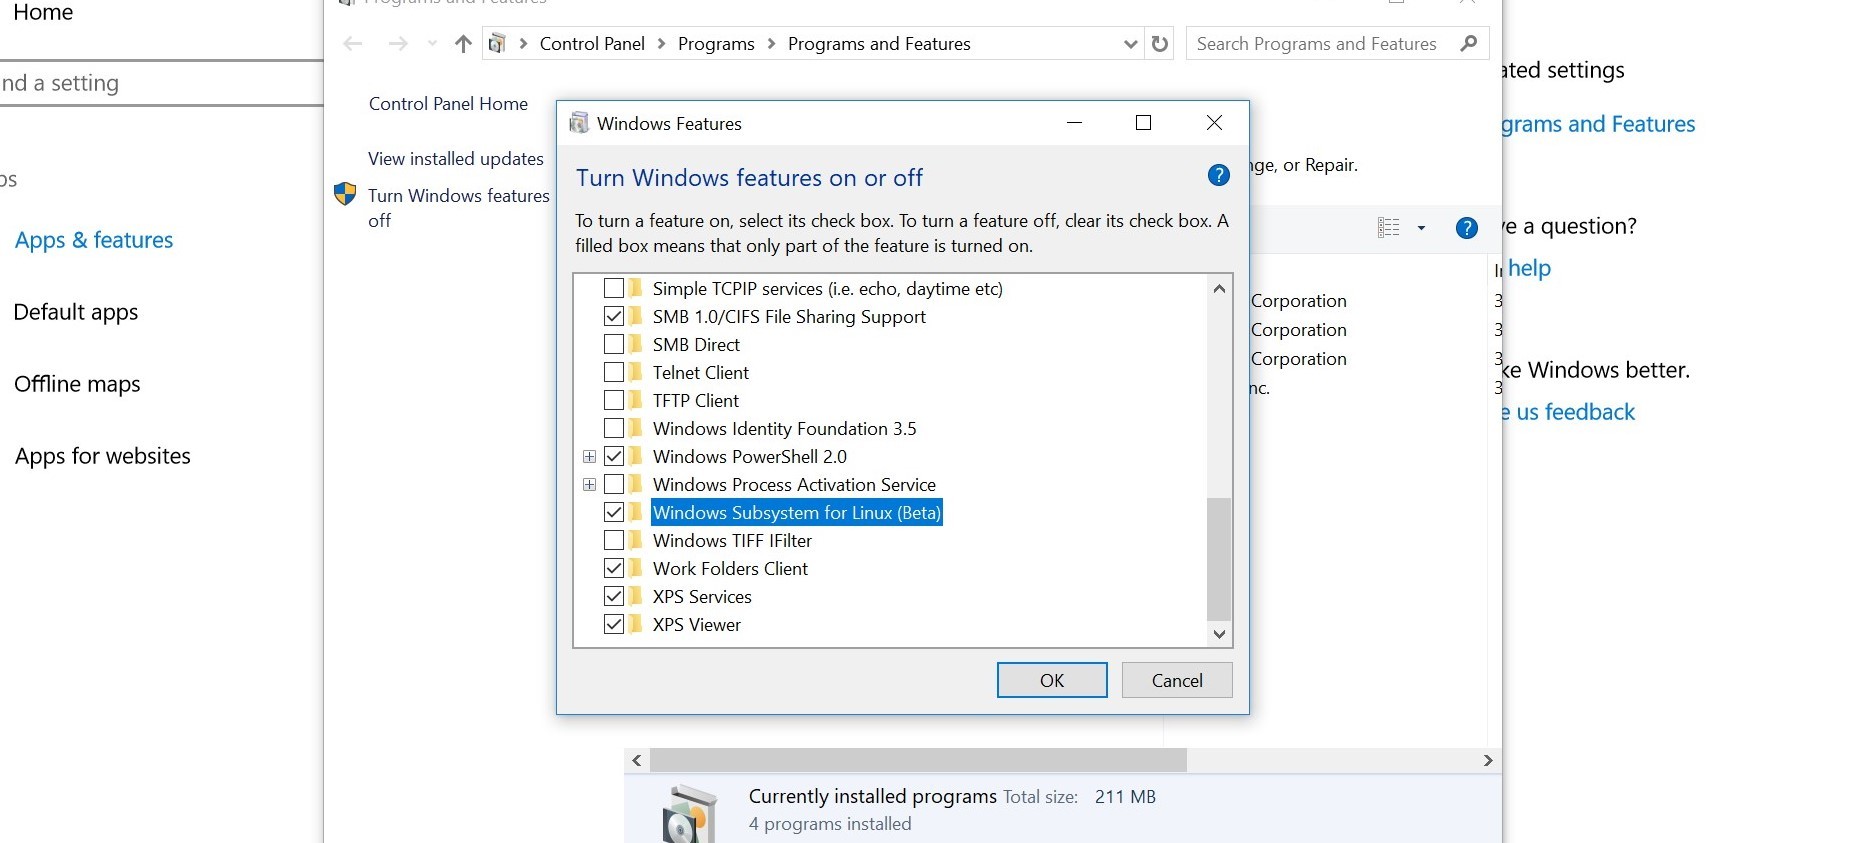
It’ll take a few seconds to install the “Developer Mode” package, but after that, head back to the top level of the Settings app, and then “Apps & Features” and click “Programs and Features” on the right, then “Turn Windows features on or off” on the left (this part is particularly fiddly for no good reason, as far as I can tell).
Once you’re there, scroll down to Windows Subsystem for Linux and check the box, then hit OK. It’ll think about it, then ask you to reboot — make sure to do that, so the kernel extensions are enabled. This bit will take a while, assumably because installing Linux inside Windows and that’s er… a big deal.
Now it’s time to install Node natively in Windows. You’re probably never going to use it since you’ll be living in WSL-land, but a few of the desktop-side apps still sometimes need it, and things can get funky if you don’t do it. Grab the Windows installer here, and just do the defaults.
One last thing on the setup: you should choose a text editor. I’m not going to go into all the options available, but my preference is either Sublime Text or Visual Studio Code, which I eventually settled on. It’s good, and natively integrates into Windows really well.
If you use Visual Studio Code, once it’s installed, fire it up and push CTRL + SHIFT + Pthen search for “shell” and choose install code into your path – this will let you open it much easier in later steps.
Tweak your terminal

Now it’s almost time to enter Bash-land! One last thing: Windows’ command line app is awful, so let’s get something better.
There are a few great emulators around like CMDer, but I’m partial to Hyper, which I used on Mac too, because it uses npm for package management and plugins — these instructions are specific to that emulator.
Once you’ve got Hyper installed, open the .hyper.js configuration file and make one key change. We’re going to set it to open Bash by default from now on, so you don’t end up in the awful legacy environment wondering why nothing works properly:

Find the shell line and change it to shell: 'C:\\Windows\\System32\\bash.exe',.
Some other useful changes:
- Install the Inconsolata font and set it to default:
fontFamily: 'Inconsolata, Consolas, "Lucida Console", monospace' - Install a better theme:
plugins: ['hyper-solarized-dark'],
Now it’s time to Bash
The time you’ve been waiting for is here! At some point I plan to automate this entire setup, but for now I did it manually for your enjoyment — and because I’ve not had time yet.
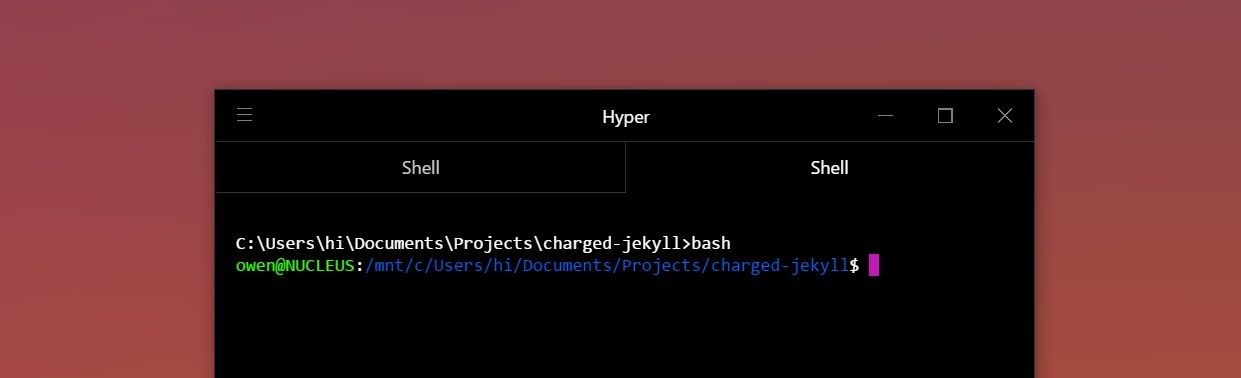
There’s a new concept to get used to here that’s important to explain, particularly if you’ve used Windows before. WSL (also known as Bash on Windows) lives inside the command prompt of the Operating System.
We’ve set it up to automatically enter bash all the time via Hyper, since it’s our preference, but there’s still the traditional cmd instance lingering above you if you type exit you’ll be thrown into there.
Bash lives in Windows’ $path so if you ever find yourself in command-prompt land by accident, just type bash to get back to safety.
Install your toolchain
Now you’re in bash-land you have the full power of apt-get at your service, just like on the real Ubuntu. Everything works as you’d expect.
The first time you enter Bash it’ll ask you if you wish to install it: make sure to say yes, and it’ll take 1-2 minutes as it extracts and sets up.
Bash will first ask you to create a UNIX username and password: my advice is to make this the same as your Windows credentials, lest you forget and need to re-install Bash from scratch.
The very first thing you’ll want to do after that is install Node, npm, Ruby and a bunch of other useful tools. Run these commands to get the basic tooling for modern web development. Be sure to copy and paste them, one line at a time:
curl -sL https://deb.nodesource.com/setup_10.x | sudo -E bash -
curl -sL https://dl.yarnpkg.com/debian/pubkey.gpg | sudo apt-key add -
echo "deb https://dl.yarnpkg.com/debian/ stable main" | sudo tee /etc/apt/sources.list.d/yarn.list
sudo apt-get update && sudo apt-get install build-essential gcc g++ make nginx mysql-server ruby ruby-bundler nodejs git yarn ruby-dev composer vagrant
While you wait, probably go get a coffee, or check out the list of what we’re installing:
- Ubuntu’s build toolchain, so you can build some tools from source if needed, along with a bunch of other handy stuff
- Added nodejs repository to apt-get
- nginx web server
- mysql database
- Ruby (I use this for Jekyll and a few other projects)
- Ruby Bundler for Ruby packages as above
- Ruby dev for building native extensions
- Node + npm for… well, everything
- Git for versioning/cloning repositiories
- Zsh for a better shell setup
- Yarn for futuristic package management
Once that’s all done, you probably want to install some Node tooling too. I still use Gulp (yeah, yeah) so here’s what I ran immediately after installing the general toolchain to support Gulp: sudo npm install -g gulp gulp-cli
Now it’s time to switch your shell to Zsh, if you like. I prefer it, for many reasons I won’t go into here, but you can skip this step if you like to keep the default. To switch, run this command:
chsh -s /usr/bin/zsh
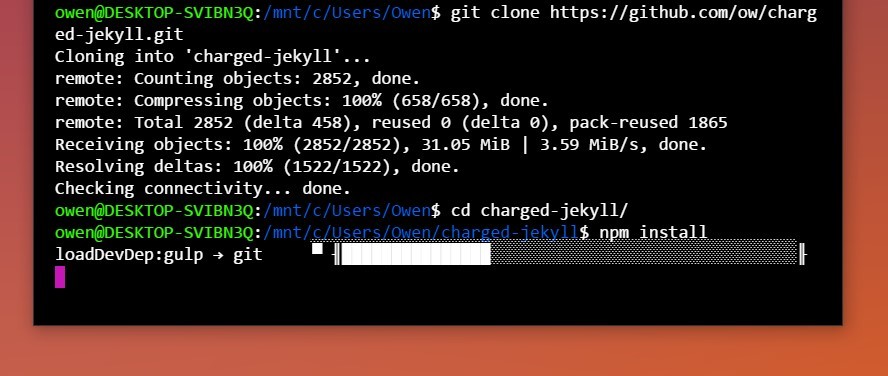
From here, I immediately cloned my own static site’s repository and was able to use Jekyll exactly how I had it configured on Mac by doing the usual bundle install and npm install then gulp serve and everything worked great — including my watch processes, Browsersync and all the other goodness.
Don’t forget to generate a key for using Git. Do the below, then copy your SSH key to GitHub from within Bash, too. Here’s how to do that:
- Generate:
ssh-keygen -t rsa -b 4096 - Copy key:
tail ~/.ssh/id_rsa.pub - Paste into this page.
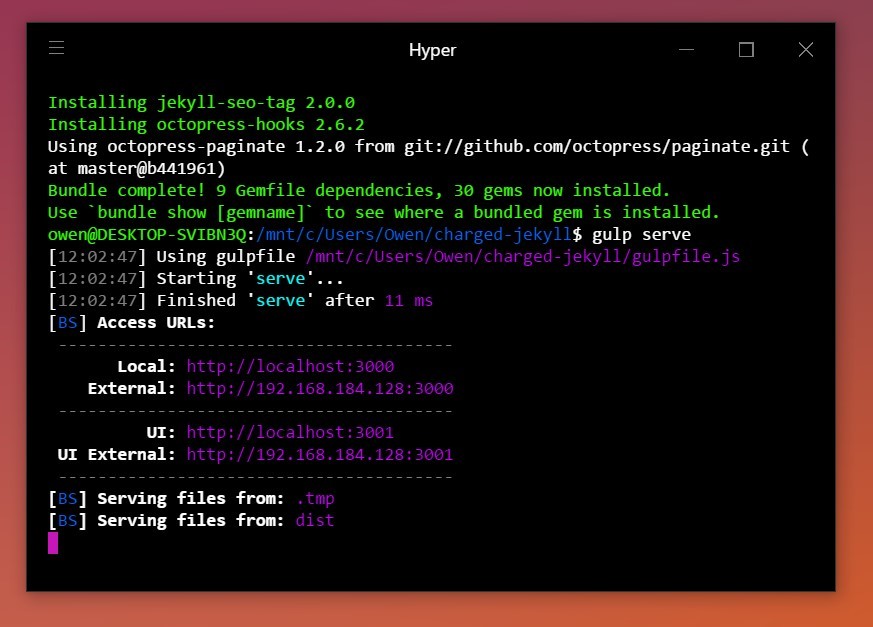
And… once you exit and re-open your terminal, you can get coding! Here’s what the final result looks like when you’re using a Jekyll project:
Cool stuff
The way Bash on Windows works is actually pretty good. This section is an ever-growing list of some tidbits that can save you a little hassle.
Jump into bash where you are
If you’re using the Windows command line instance, and want to jump into bash inside the folder you’re looking at right now, you can! Just type Bash, and it’ll launch in the correct directory.
Even cooler, with Hyper, you can right click any folder in Windows Explorer and click Launch Hyper Here to get straight into a Bash window. If you’re using a different code emulator, you can hold CTRL + SHIFT when right clicking
Windows path executables work
I use Visual Studio Code, which can be launched by typing code . to open the current directory in the app. The cool thing is this actually works inside Bash out of the box, because Ubuntu sources Windows’ path file.
The same works for other Windows tools, like Sublime Text.
Exposing ports
Working with nginx or just Jekyll server under Ubuntu? The ports that they create are automatically exposed to Windows, so you can work directly in your desktop browser without any messing around.
Chocolatey If you’re using a Mac right now, you probably know Homebrew really well. On Windows, there’s something just like it called Chocolatey. I had missed this entirely, having not been in the Windows world for a while, but it’s a life saver.
Basically, install Chocolatey and you can grab anything into the Windows environment easily. For instance, I just needed a copy of the Android Developer Tools, so I ran choco install adb and it just worked!
Virtualization / vagrant
Would you believe this actually works? I spend most of my day living in PHPStorm and using Vagrant virtual machines, so getting this going was pretty crucial for me. Here's how to best setup Vagrant, then forget about it:
- Install Vagrant for Windows
- Install VirtualBox for Windows
- Install Vagrant under WSL by running `sudo apt-get install vagrant`
- Clone some VM (or try something like Homestead) in Bash.
- Open your ~/.bashrc file and paste this at the end: export VAGRANT_WSL_ENABLE_WINDOWS_ACCESS="1"
- Run `vagrant up` within Bash, and you're away running!
There are almost no drawbacks with this approach, but I did find a quirk with symlinks and Composer. If you'll be using local, private modules that require symlinks, you'll need to start command prompt as admin, open bash from there, then run vagrant up for them to work natively.
Sort-of broken stuff
Fonts
Lord, almighty fonts on Windows are terrible, and even uglier in any terminal application I can find. Microsoft has done some work to make Cleartype better, but it still physically pains me compared to MacType. I don’t know how to fix this.
Opening stuff directly from terminal
Much of my automation uses the open command which works great on Mac to pop open a browser as soon as I start a project’s watch file up — that doesn’t work on Windows + Bash, and I’ve no idea how to fix it. For now, I just type it into my browser.
I’ll add more to this section as I find it. (August 2018: it still doesn't work).
Dotfiles
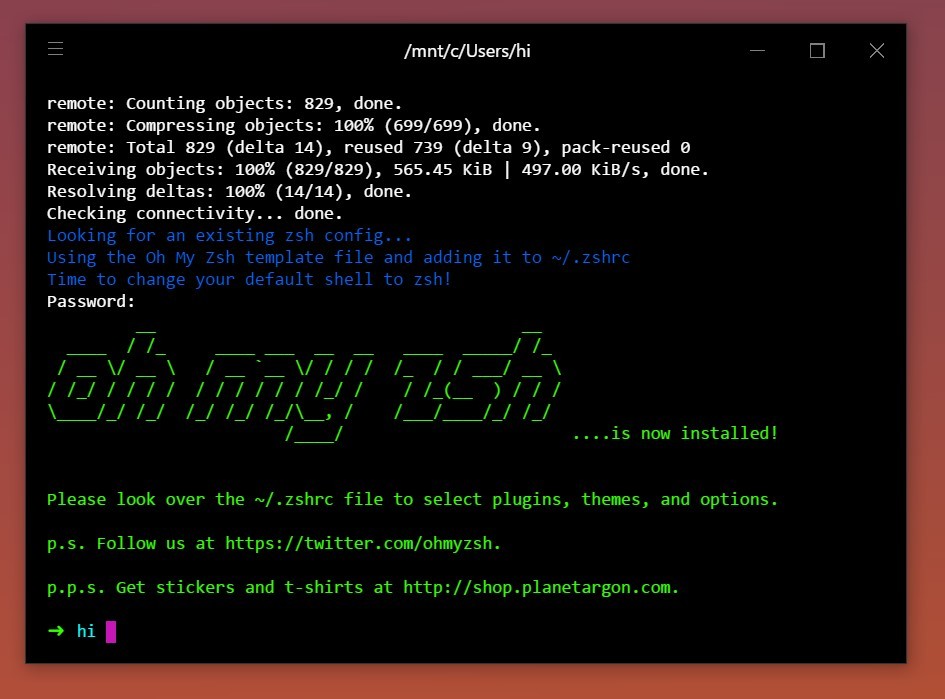
They actually work! And I’m busy adapting a Ubuntu dotfile setup to Windows, but it’s not perfect yet. Much of the Ubuntu default tooling doesn’t come by default, so some things break.
That said, dotfile customization generally works, and pretty well too:
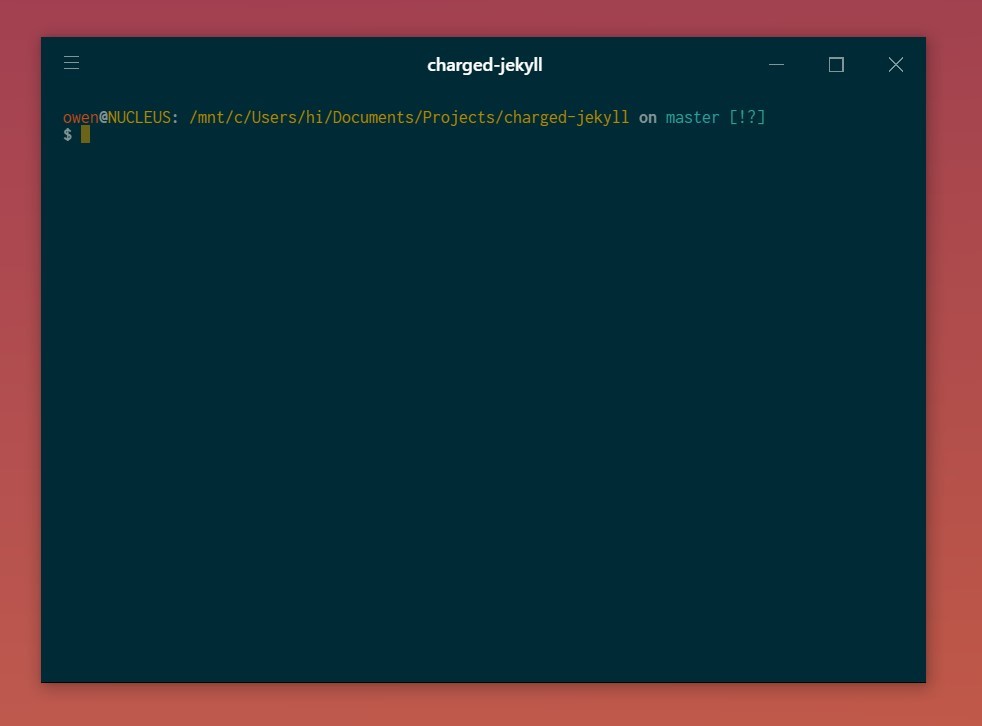
Weird bugs
OK, there are a few weird bugs, but I've actually largely resolved the ones that would block me. At first WSL didn't support symlinks, but that's been added as of 1703, and inotify for monitoring file system changes for tools like Gulp was added in the same release.
It’s actually really good
I originally switched to Mac because I loved the idea of a Unix terminal being right there, and it was clearly the best for web development, but the sheer simplicity of Bash on Windows throws that into question for me.
Windows 10 is actually really enjoyable to use, finally supports High-DPI screens properly and caters to developers nicely — the best part is you can get powerful Windows hardware for relatively cheap, compared to a Mac, and much of it is approaching Apple’s level of quality.
I’m using a desktop for the most part, but I’m going to be trialling the 2017 Razer Blade, to see how it stacks up in the coming weeks — so look out for the next part in this series.
This post will be updated over time, as I use Bash/WSL more — if you have any questions or want me to try anything, throw them in the comments!
Last updated: August 20, 2018.