I've been buying smart devices for a while, largely out of a morbid curiosity about how they work, but also because they can have utility when done right. The problem with most of this smart rubbish is that building a smart home that actually works can be expensive. But, with a little DIY you can save a lot of money.
I've written about building custom, cheaper Philips Hue LED strips in the past, but after that experiment I started wondering if I could add smarts to even my dumb devices as well... like my coffee machine?
At first, I started buying the reasonably-priced TP-Link HS100 smart plugs, which integrate nicely with Google Home, but they're bulky and a bit visually unattractive, so I began looking elsewhere, wondering if I could integrate something instead.
A friend of mine suggested experimenting with this tiny, dirt-cheap internet-switch called the Sonoff, which allows you to directly wire in smarts without any external adapters or modifications to be made. In theory, this would let you hide away those smarts in even the simplest of devices.
I decided to volunteer my beautiful coffeemaker, a bright yellow Moccamaster, as tribute: it's as dumb as it gets these days, and theoretically has simple enough wiring along with enough space to splice in the Sonoff within the coffee maker directly.
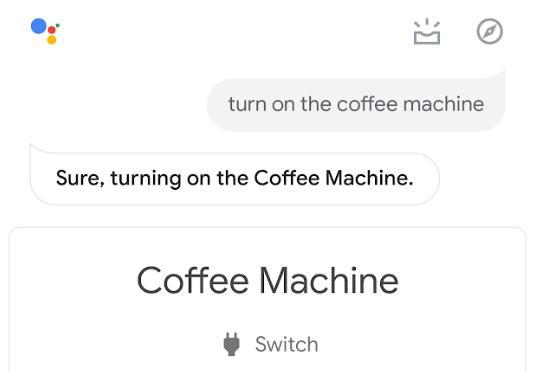
It took me about an hour of time and some simple cabling to get this working, but it's perfect! I can now say "Hey Google, turn on the coffee machine" and it'll fire up. Even better, the new Android Pie integration with the clock app allows my morning alarm to switch on the coffee machine.
Now, I just need to fill up the Moccamaster with water and grinds before bed, then it's automagically working as soon as I wake up. I don't think there's a better way to get the day started, and better still, it doesn't require an expensive DRM-equipped coffee machine.
Here's the details of how to build your own internet-connected coffee maker that makes killer coffee each day, for cheap.
Please bear in mind, this is an experiment: I can't be responsible if you break your own coffee machine or hurt yourself, so take your time, read the instructions and do you research before beginning.
Getting ready
Here's the things you'll need to connect your own coffee machine to the internet:
- Sonoff smart Wi-Fi switch, about $10 (if you have time on your hands and don't mind waiting, you can get this for as low as $4 from Aliexpress here)
- A gorgeous Moccamaster of your own to pull apart
- Computer screwdriver set (there's a few small flathead and phillips screwheads to get to)
- 20-30cm of extra power wiring for splicing in the Sonoff
- About an hour of your time
The Moccamaster is a fairly simple affair, without any sort of built-in computer or smarts: it takes water and ground coffee, then it makes some of the best coffee that can come out of a machine. Adding a Sonoff would allow me to turn on the coffee machine with my alarm clock, which was something of a ridiculous pipe-dream.
A caveat before beginning: the Sonoff seems to require 2.4GHz WiFi to function, so check your router can support that. Now, here's how to do it.
How to put a coffee maker online
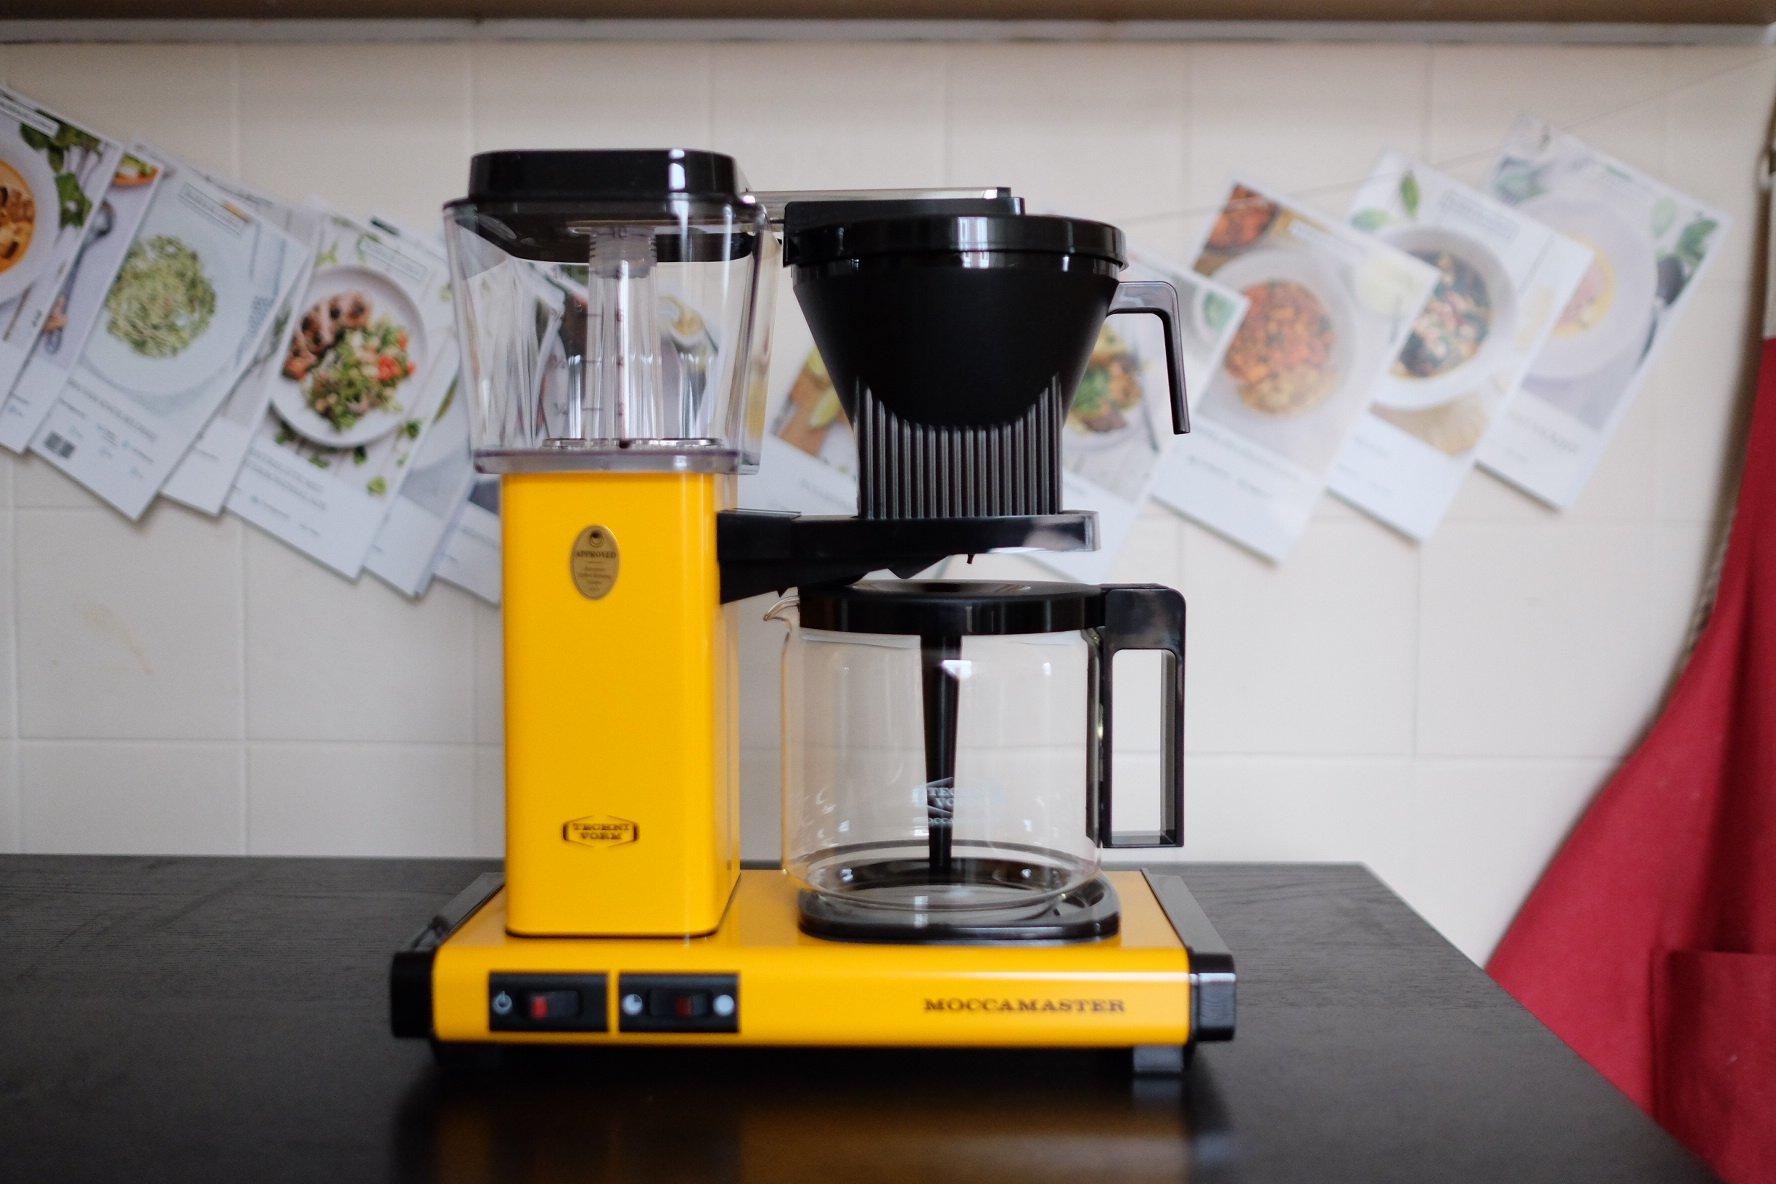
Popping the bottom of the Moccamaster open revealed that there's plenty of space available and that this DIY hack is relatively straightforward to do in under an hour. Best of all, looking at the picture above you couldn't even tell this is a smart-enabled machine!
To begin, unplug from the power, remove all of the loose plastic parts and shake the machine upside-down over the sink before starting, to empty any liquid out of the heating element, then flip the machine over (while unplugged).
There's just four screws to access the electronics, and the base should easily lift away.
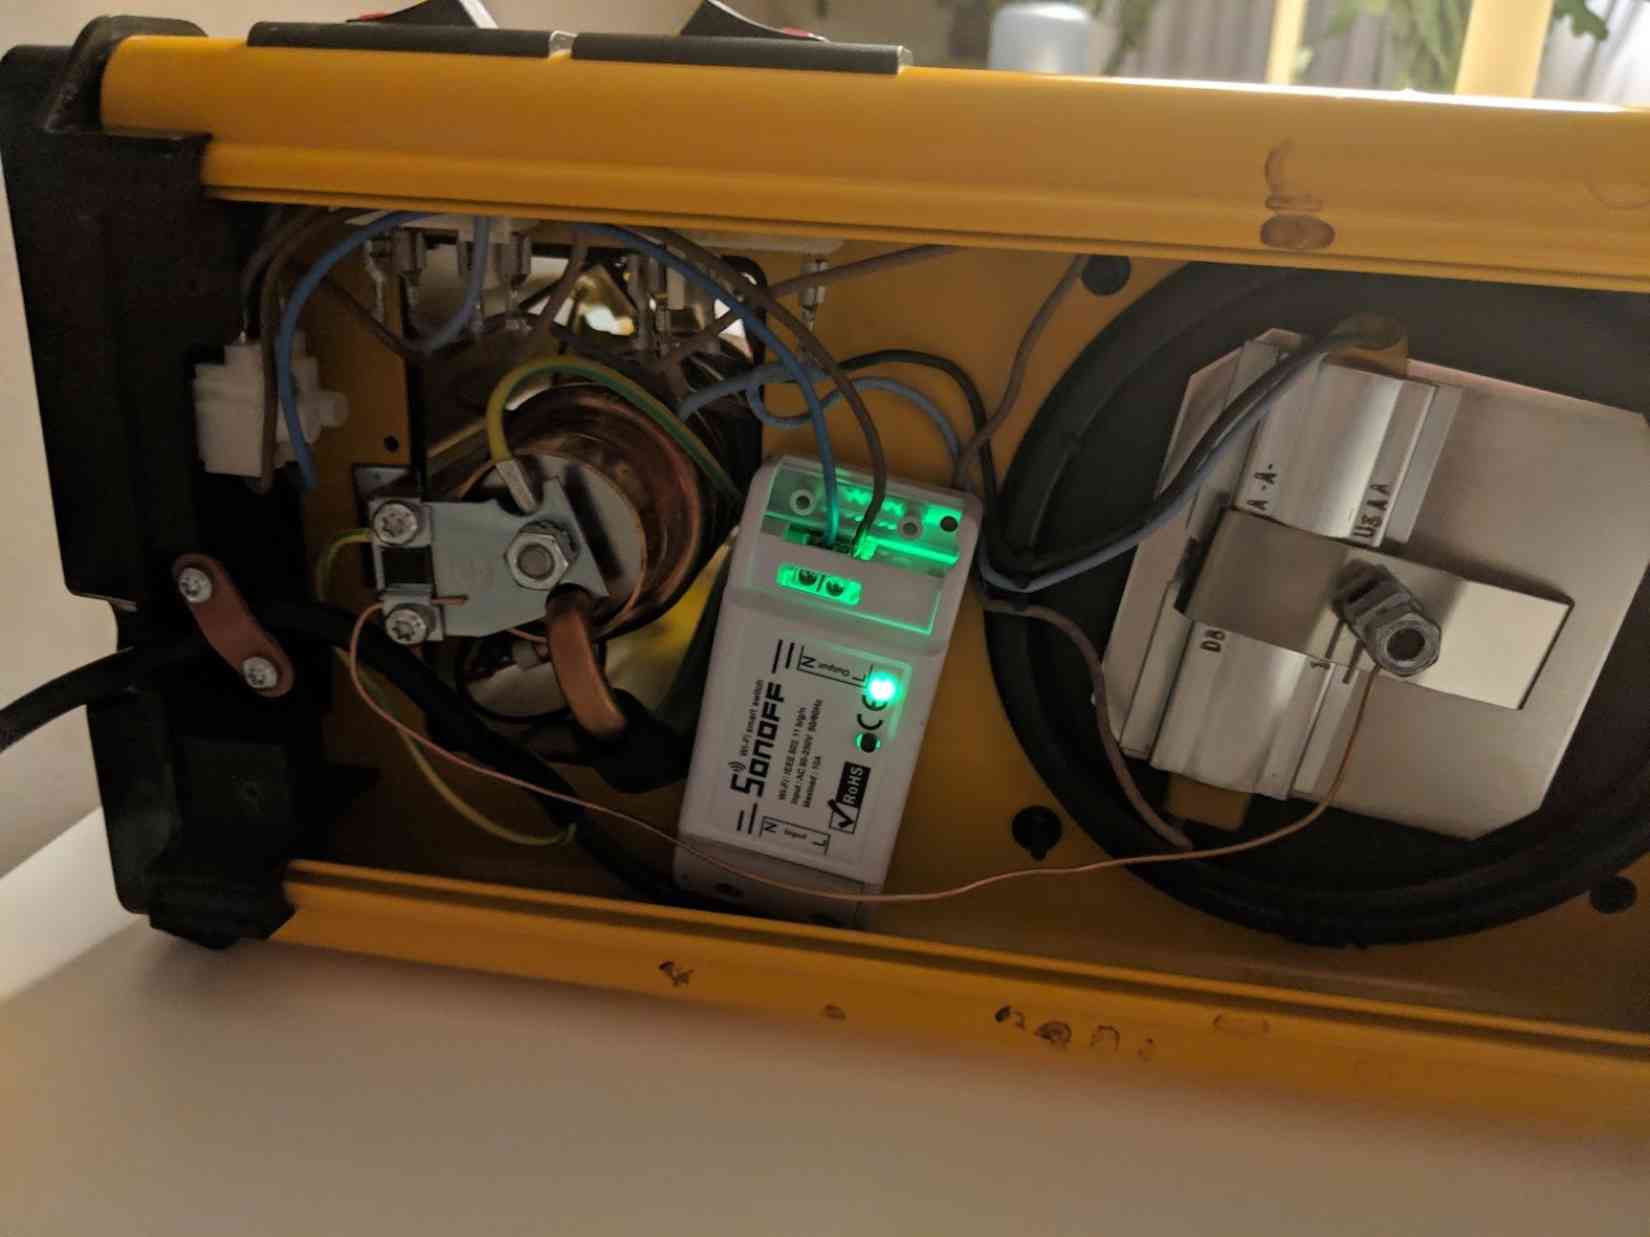
With the base off, it's easy to see how simple this device really is. Hidden away at the entry-point of the power cord, there's already a junction box, which makes it even easier to splice in the Sonoff. There's a reason Moccamaster is famous for machines that last forever!
Before you start working take a photo of the guts so you know what was wired where in case you get lost later. This is a lifesaving habit I always do before starting, and will take just a second.
Now, once you're ready, undo the center screw in the cable terminal to free it from the side of the machine. Loosen the screws bracing the power cable where it enters the machine and pull it inside a little further to gain additional cable, which we'll use to tuck the Sonoff away from the heating elements.
Before proceeding, check the colors of your wires and what they correspond to in your own country. I am wiring a European-made Moccamaster to a Dutch plug, which will apply to most of Europe, but US wiring may differ (though not by much).
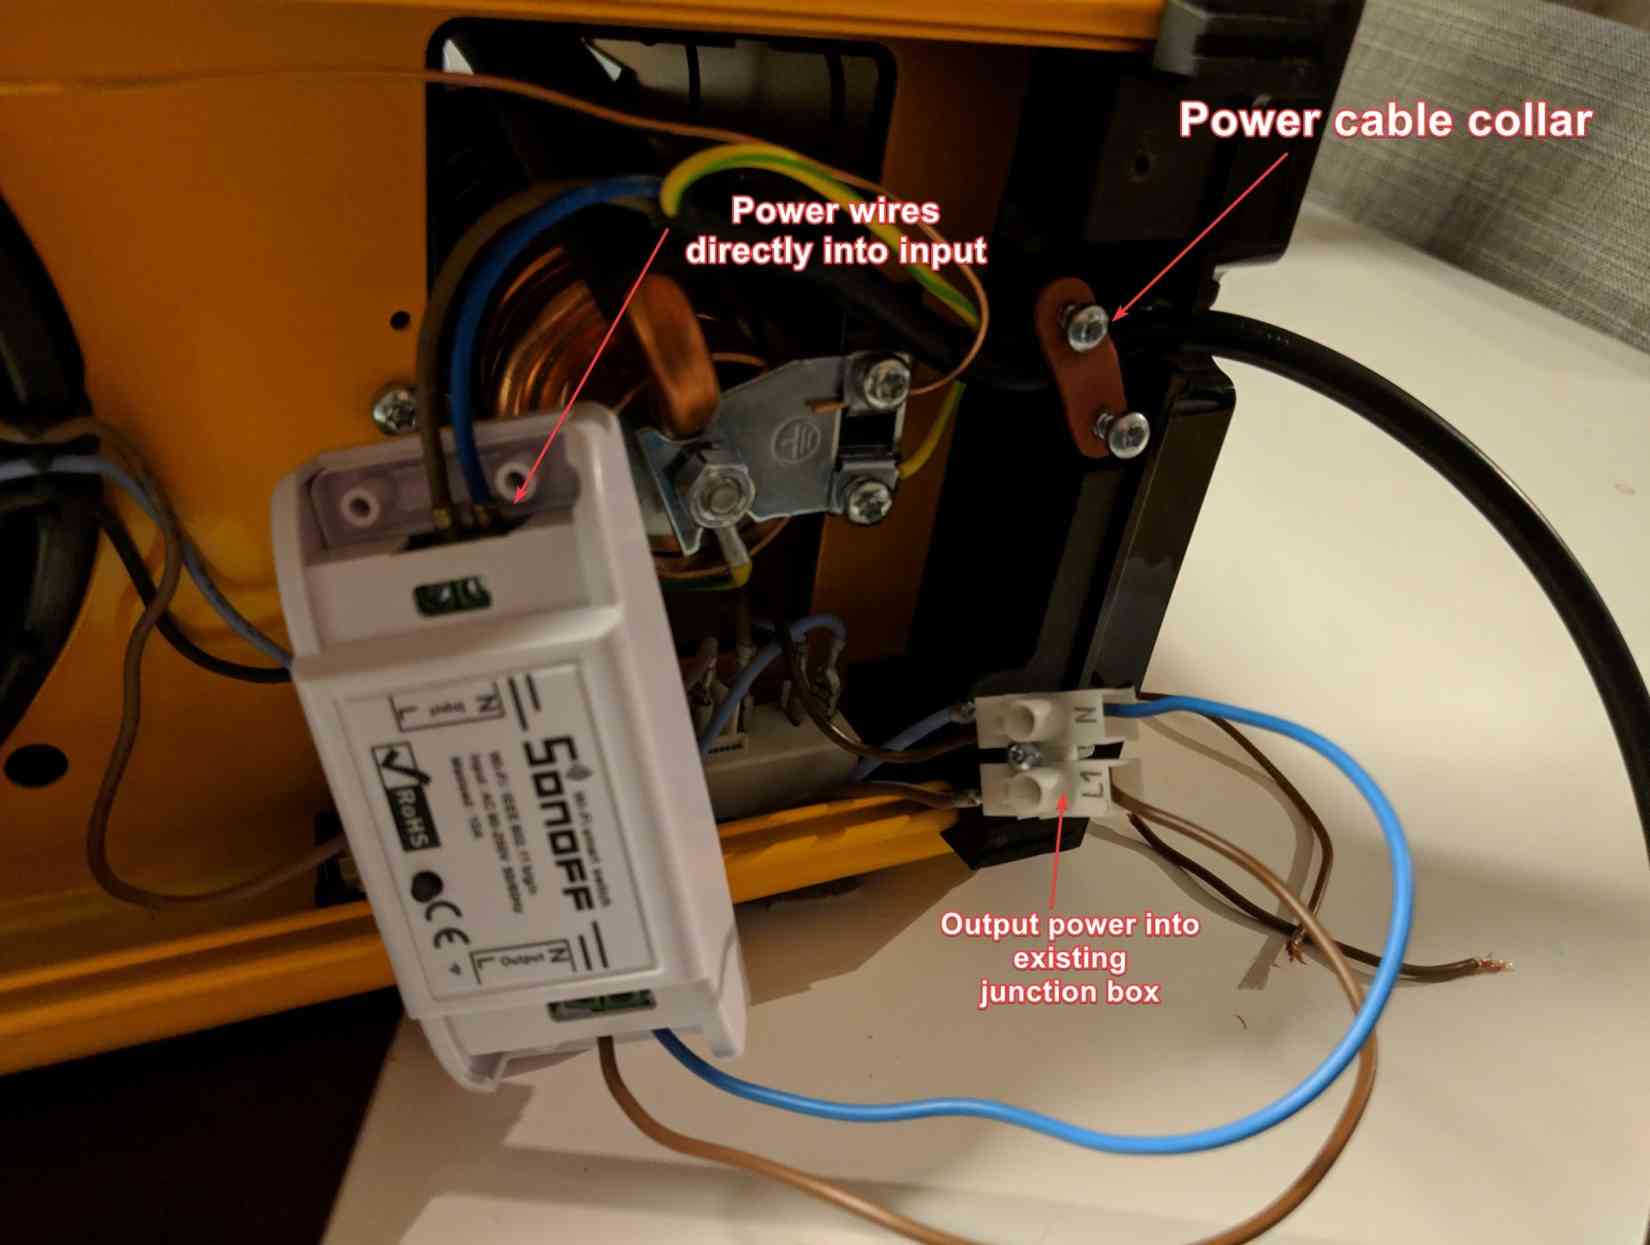
Leave that loose, and loosen the neutral wire from the incoming side of the junction box (noted by the N) before immediately placing it into the corresponding input live wire port on the Sonoff. Be careful that you're putting it into the input side of the Sonoff, or it'll otherwise be fried when you plug it in.
Do the same with the live (positive) wire into L1, ensuring a tight fit before moving forward. My Moccamaster's cables were capped, which made it a little hard to push in, but shoving it a little with a screwdriver helped a lot!
Take your spare wire and strip the ends a few millimeters, then feed them into the output side of the Sonoff. Ensure the the negative wire goes into the N port on the junction box and the live wire matches the L1 port on the junction box before proceeding.
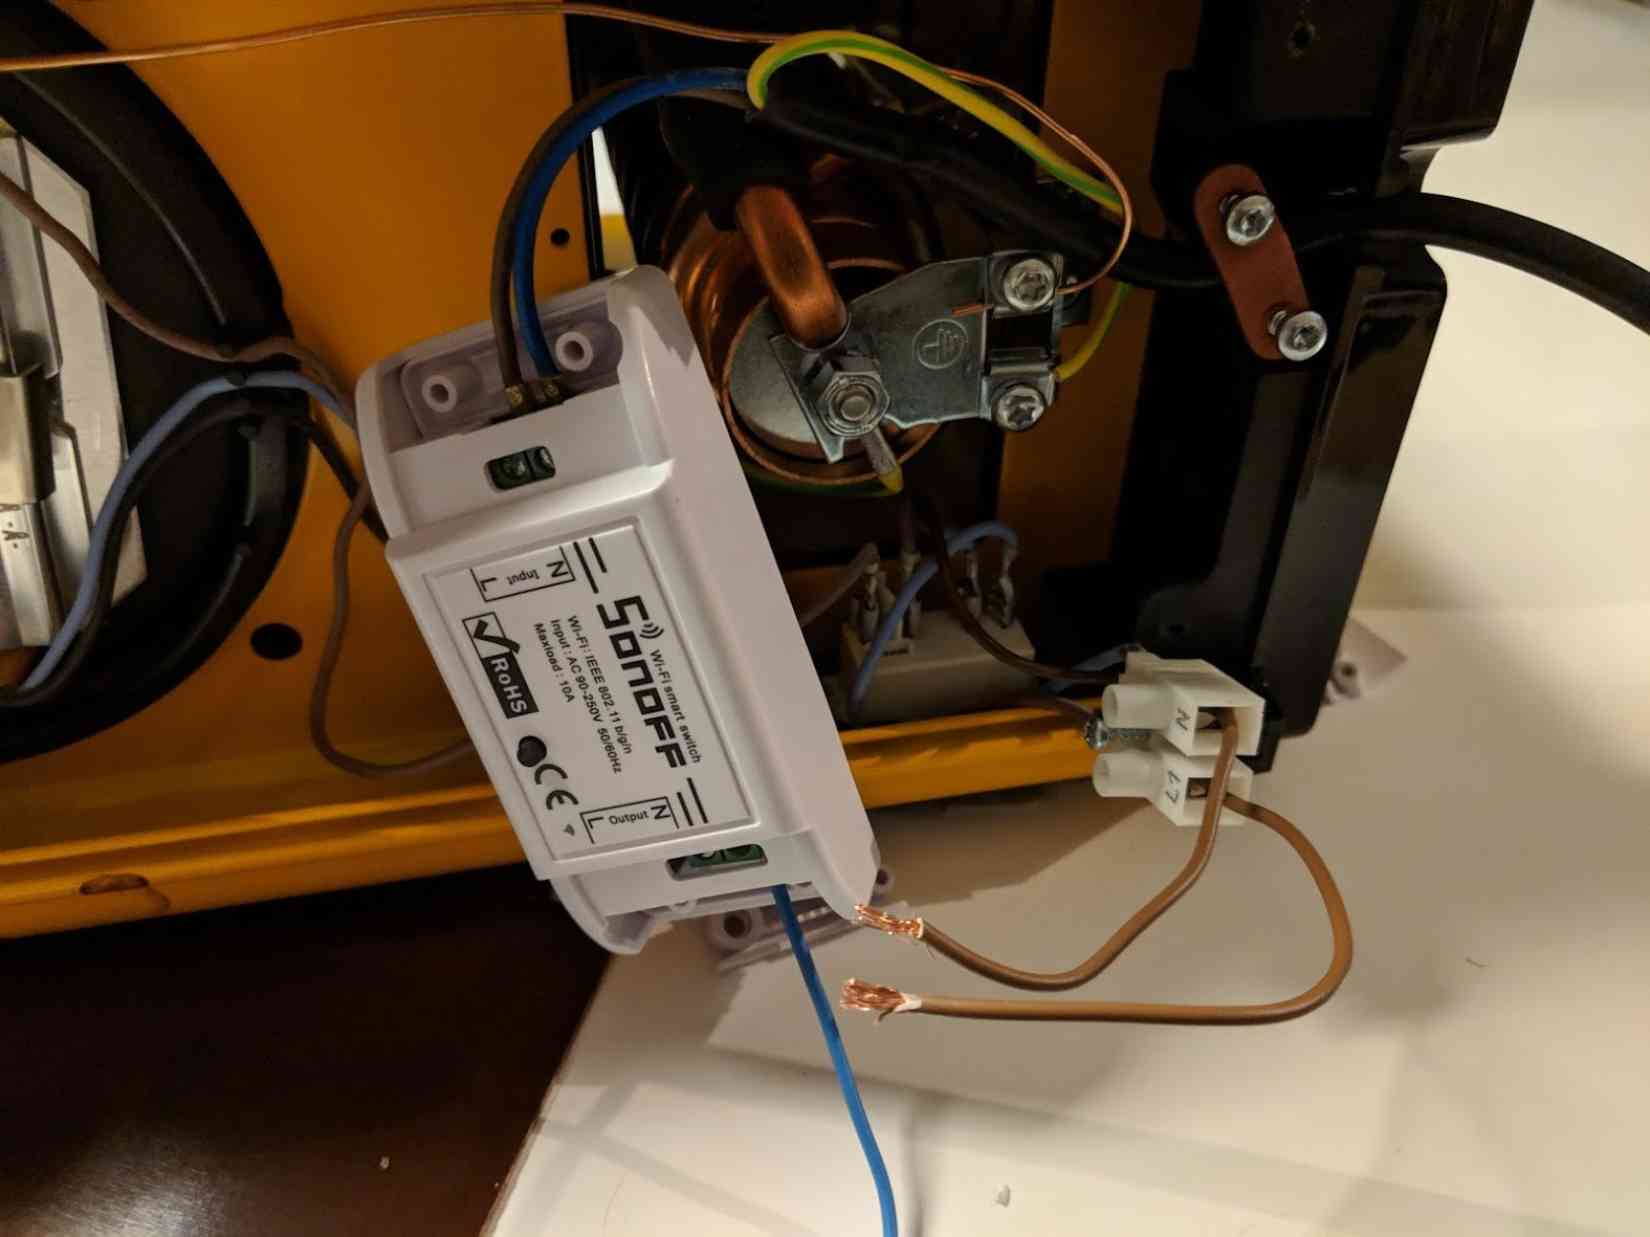
Once you're certain, tighten the screws on the junction box and the Sonoff, then make sure you can't easily tug them out. You can use the picture below to check yours looks similar, if you have the same machine as me.
Now that everything is wired up, I recommend routing the new wiring around the large copper tube at the rear (where there aren't any switches) and pushing the Sonoff into the space between the two electronics, as pictured below.
To avoid damaging the machine, I used blu-tack to secure the Sonoff in-place rather than screwing it, but sticky-tape would probably work too (I told you this was a hack). To finish up, secure the power cable brace from earlier, then the junction box, being sure that none of your cabling touches the copper elements or the side of the machine.
Now it's time for the moment of truth: testing it out and getting the Sonoff paired! With the base still open and the Moccamaster's power switch set to off, plug in the machine (with an overload-protected power strip to be safe) and see if the Sonoff lights up. If so, we're all set!
Before you close the machine, be sure to follow Sonoff's pairing steps to get set up. It should require a simple five-second hold of the button on the device, then configuring it with the Sonoff app, but it took me a few tries to get it working initially.
Internet-connected experiments
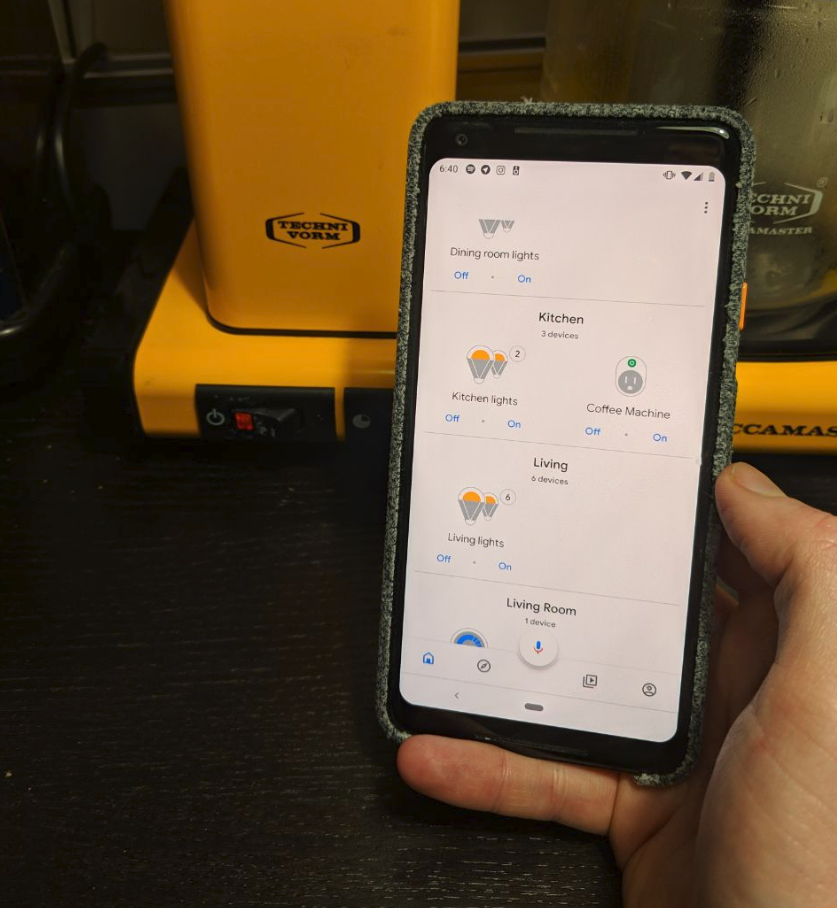
Sonoff's switch is probably the cheapest you can get with native support for Google Home and Alexa, which was the goal of my own experiment: getting Google Assistant to turn on the coffee maker when my alarm goes off in the morning.
Seriously, it works surprisingly well for the price: Assistant picked up the switch in a few seconds and it turns on as soon as my alarm goes off. I woke up this morning with the smell of beautiful coffee, and a successful experiment!
There are lots of other cool things you can do once you've got this set up, such as adding it to a routine like 'coming home' or simply asking Google Home to turn on the coffee machine with your voice.
My biggest reservation with these ultra-cheap Sonoff switches is that I'm not entirely willing to trust their firmware isn't up to something in the background. The app is poorly designed (though you won't use it much) and I question whether or not this company is up to anything else on my network.
There are ways to resolve that, if it's a concern: some have suggested flashing custom firmware onto the Sonoff, which is totally a thing, but I've opted to segment it onto its own hidden network instead to solve the problem and keep IOT devices out of my data.
I'm still experimenting with other ways to make the smart home more useful, including an order of some Xiaomi Home Hub devices to see if they can help bring things together. If you're interested in anything else, or have an idea for a DIY-connected device, let me know in the comments!